Delicious and Easy Chocolate Ganache Recipe.
Hi, welcome back to “The Bakes of Grace Blog”! Today I am sharing my recipe and method to making chocolate ganache. Chocolate Ganache is simply chocolate and cream combined. It’s the most delicious and decadent chocolate dessert. I personally love to snack on ganache with crushed Oreo’s. Typically ganache is not served on it’s own, it ‘s commonly used as a filling, glaze, or topping and can be used as an ingredient for a variety of desserts. I love to use is as a filling or drip for my cakes and cupcakes!

Equipment needed:
- One Small Bowl
- A Food Scale
- A Measuring Cup
- One Spatula
- One Small Whisk
- A Microwave
Ingredients and Measurements
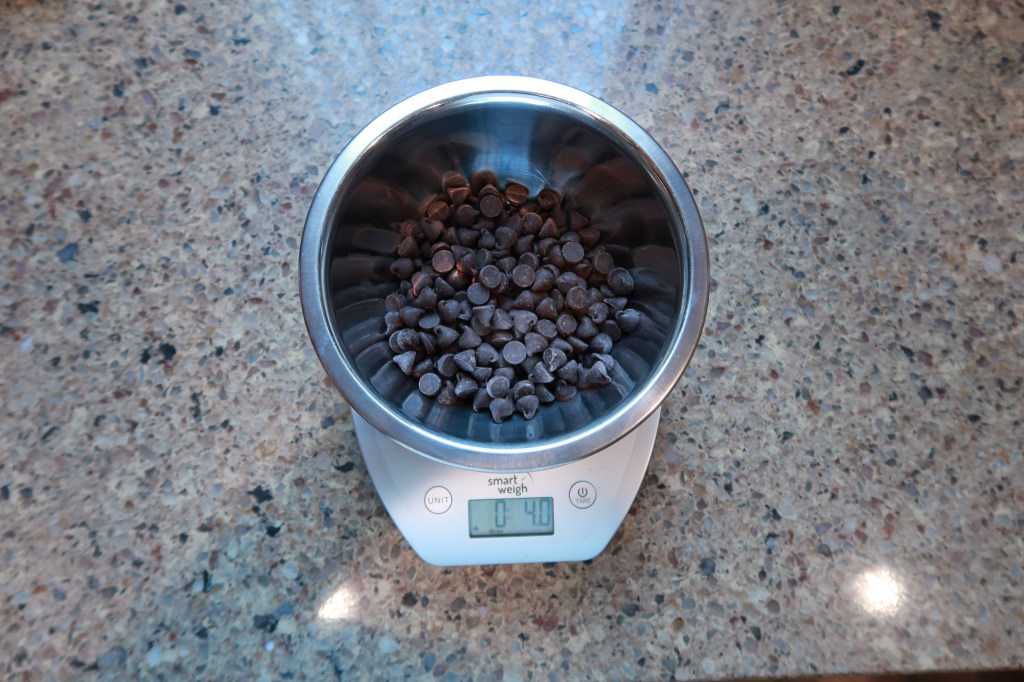
- Semi-Sweet Chocolate (4oz) You can use Chocolate Chips or a Bakers Chocolate Bar! I personally love using chocolate chips because it’s very fast but I have used chocolate bars many times.
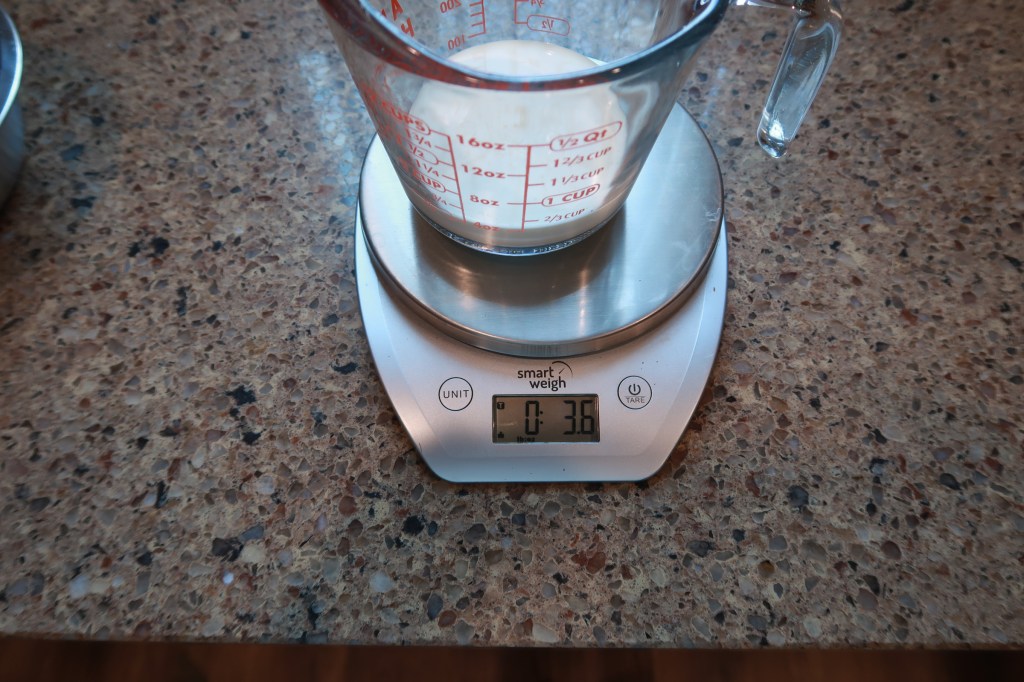
- Heavy Whipping Cream (1/2 Cup)
Instructions:
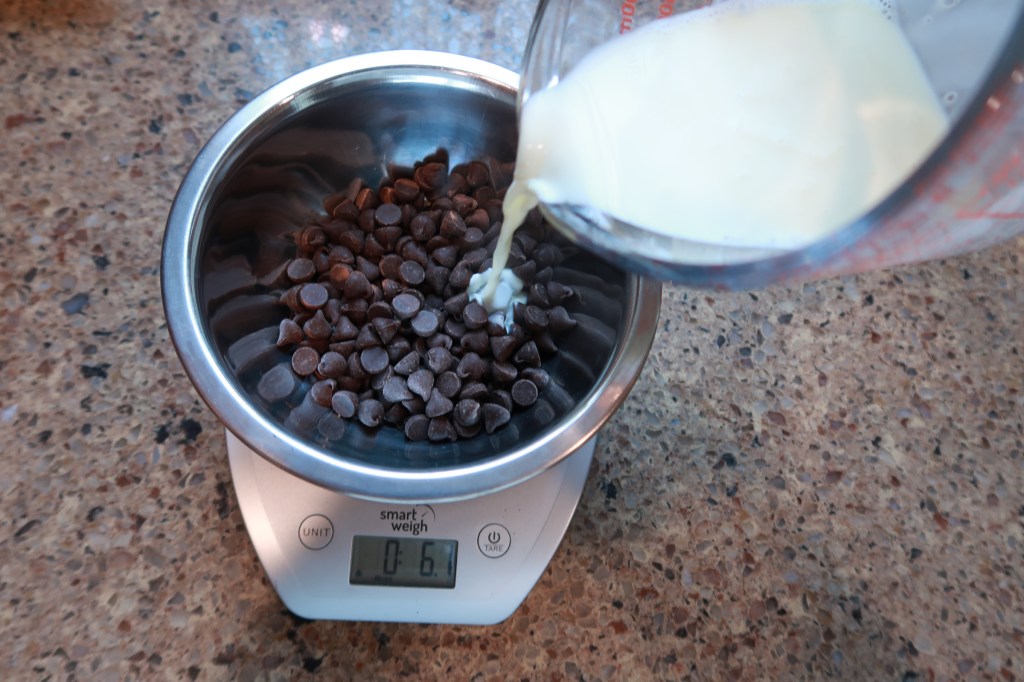
- Step One: Measure out 4oz of your chocolate. Make sure to zero out your scale so you can properly measure your chocolate into the bowl. If you are using a 4oz chocolate bar you won’t need to measure out the chocolate.
- Step 2: Measure the heavy cream in the measuring cup and microwave the heavy cream for 1 minute.
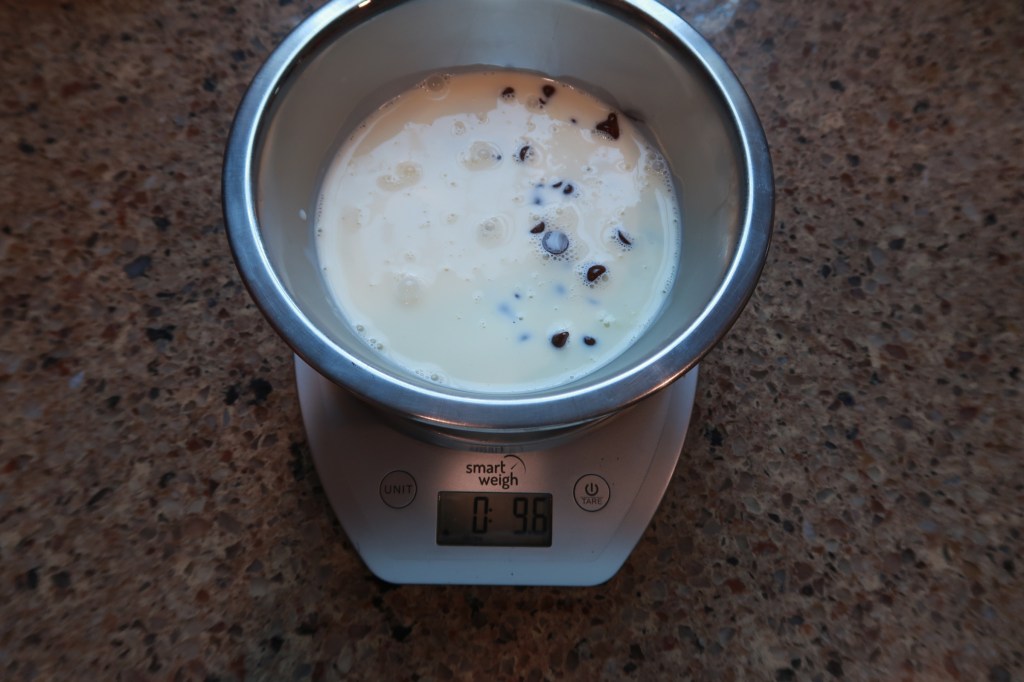
- Step 3: Pour the hot heavy cream over the chocolate and let it sit for 1 minute.
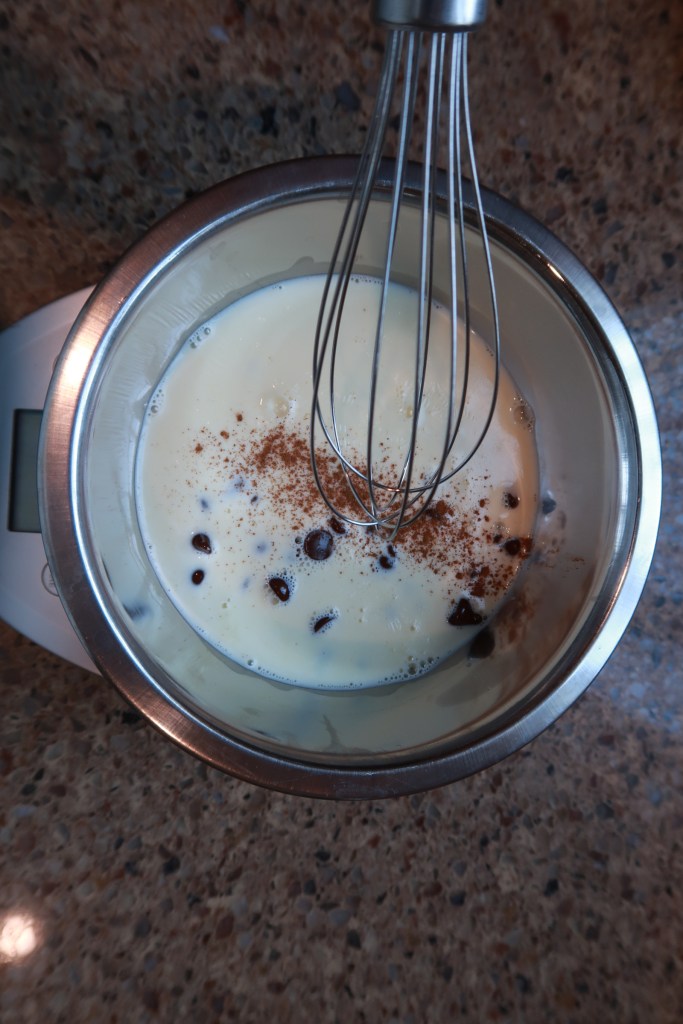
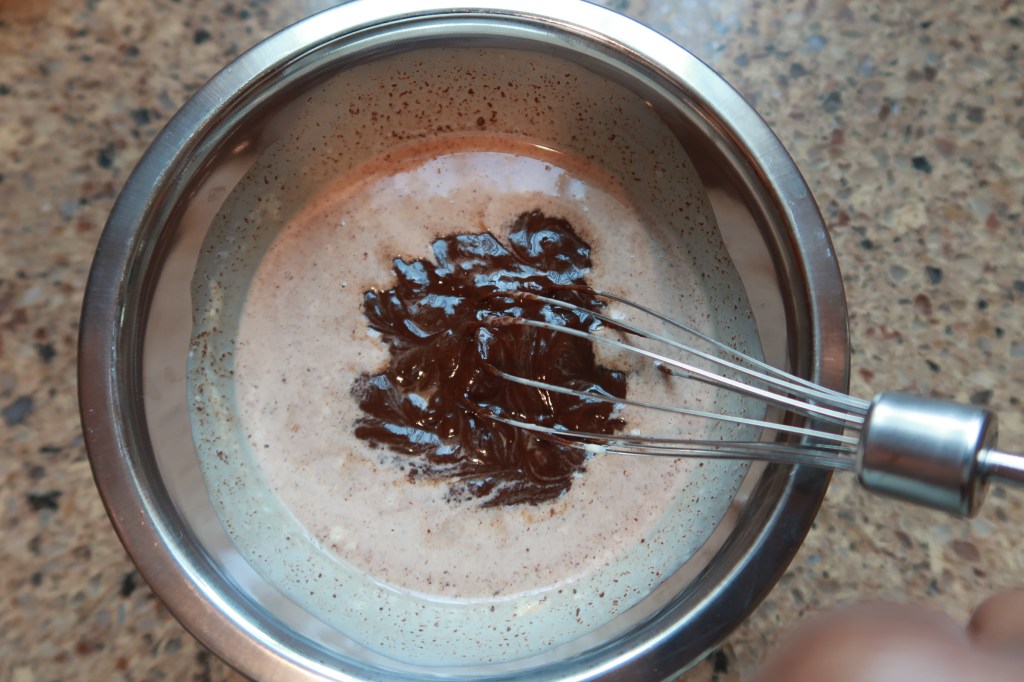
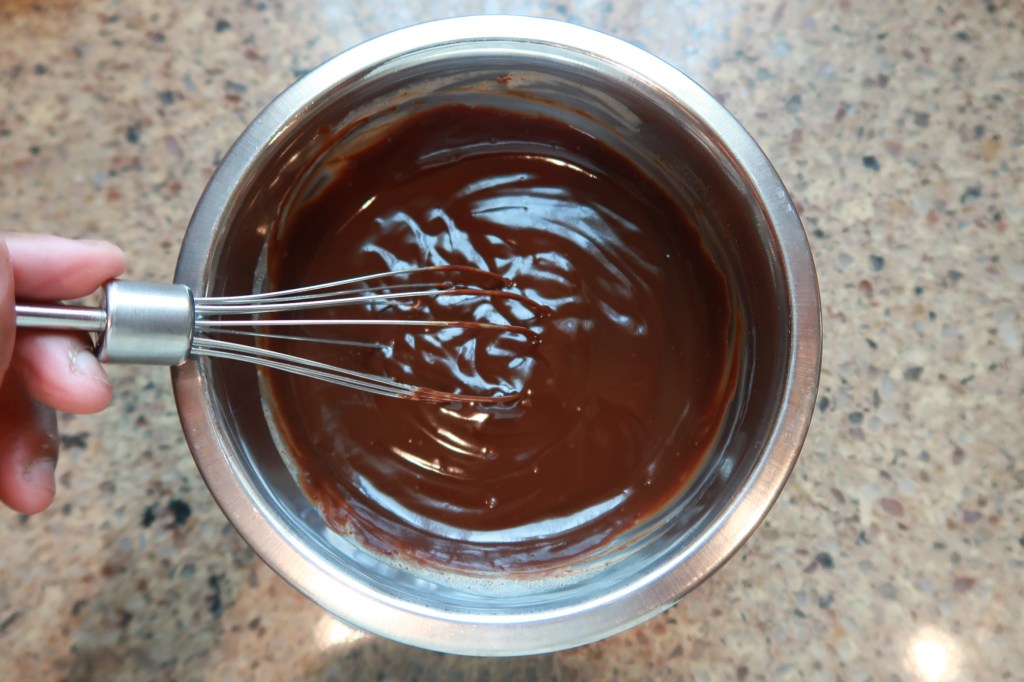
Step 4: Mix the mixture and add flavoring of choice. Make sure to focus your whisk in the center of the mixture to limit air bubbles. As for flavoring I love to use vanilla extract and occasionally I’ll add cinnamon! *I swear cinnamon and chocolate are a match made in heaven!
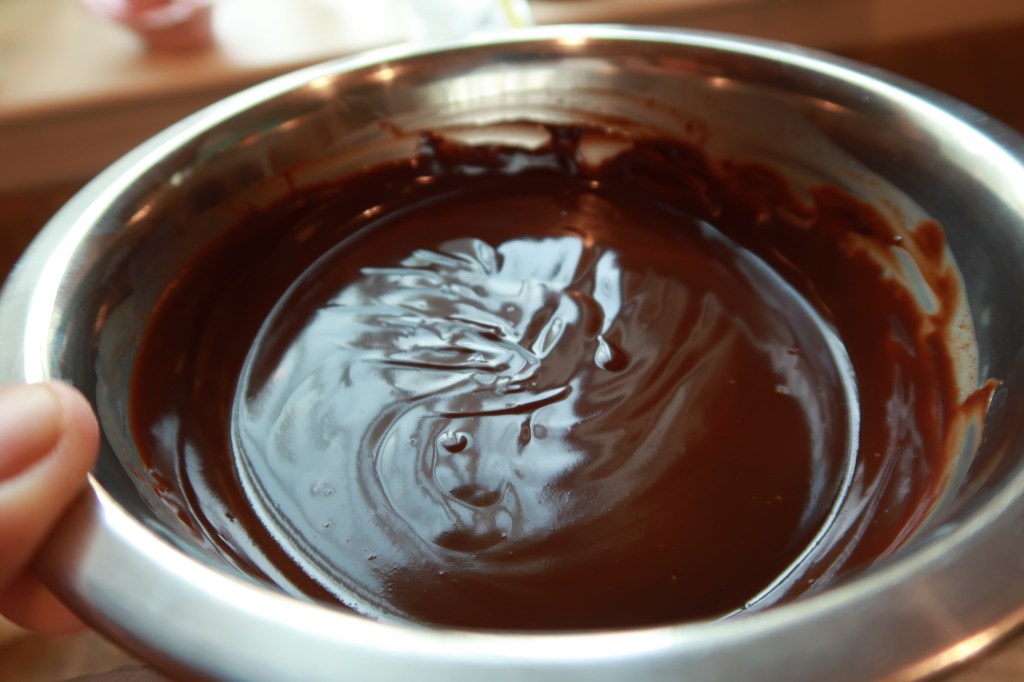
- Final Step: Let the mixture cool for a few minutes and use as desired!
Tips and ways to use:
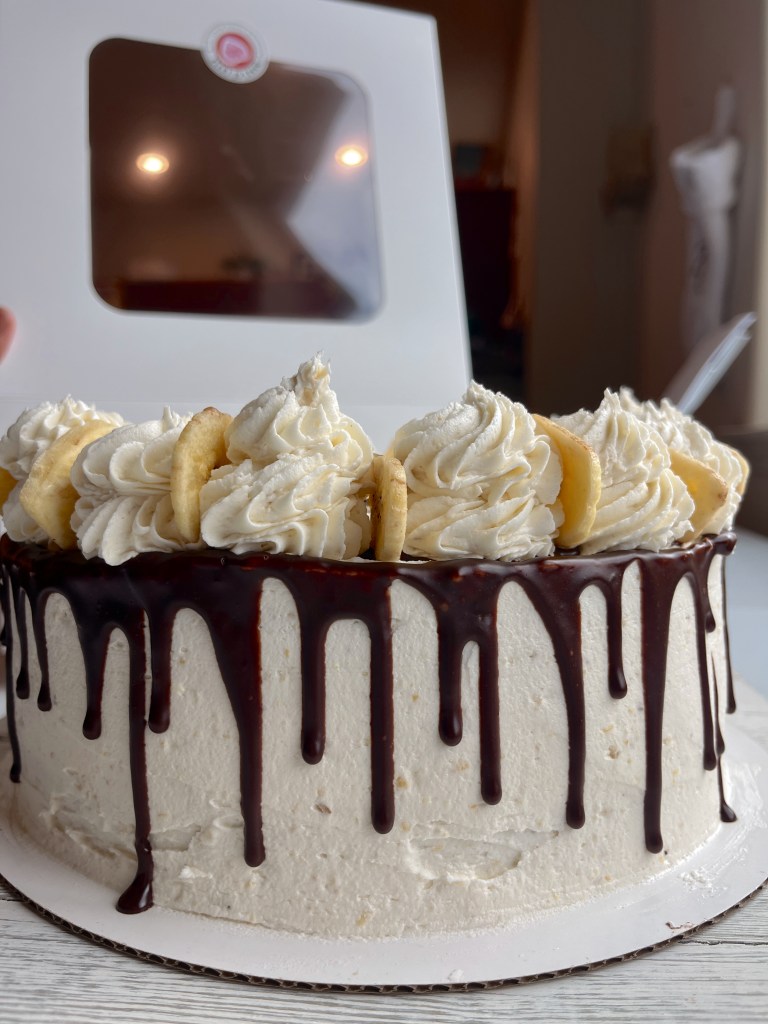
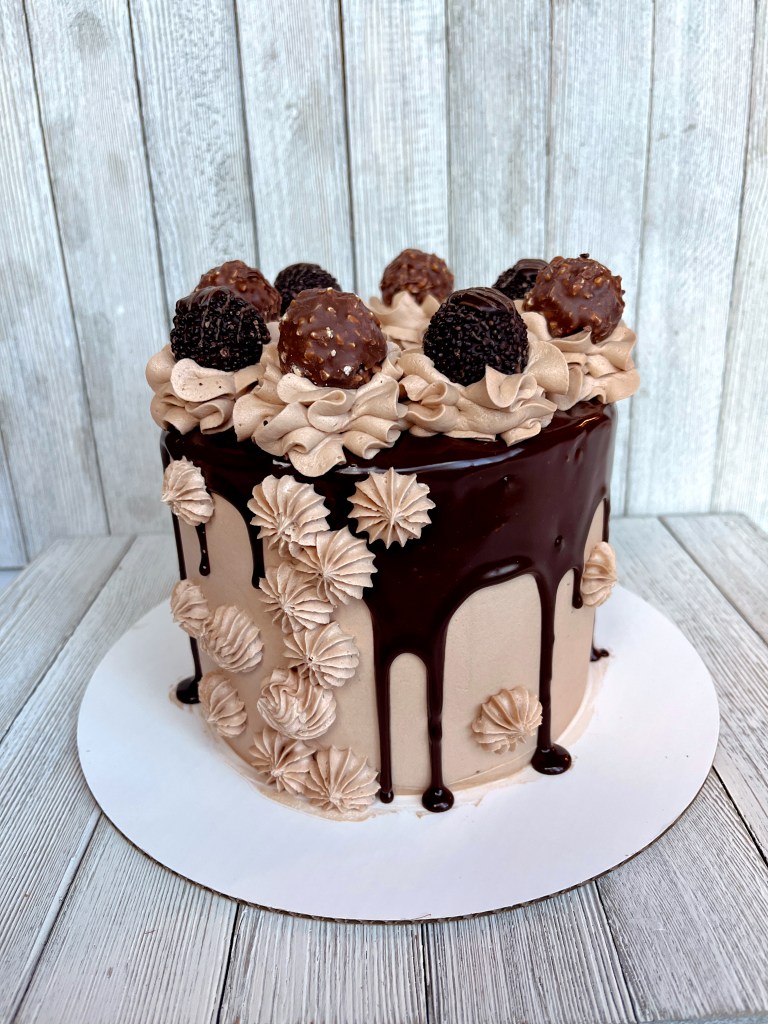
- Cake Drips: For a chocolate ganache drip I like to use a squeeze bottle to distribute drips around my cakes.
- Chocolate Curtain Drip: To get a curtain drip you want your ganache to be more on the thin side. To achieve a thinner ganache I will add more heavy whipping cream after whisking the mixture. I’ll typically pour more heavy cream 1 tablespoon at a time until I get the desired consistency. To test the consistency I will take a glass cup and use a spoon to make a drip on the side of the cup. If the ganache easily drips then I know I am good to add the ganache to my cake!
*Note: I typically won’t warm the additional heavy cream unless it seems like I need to.
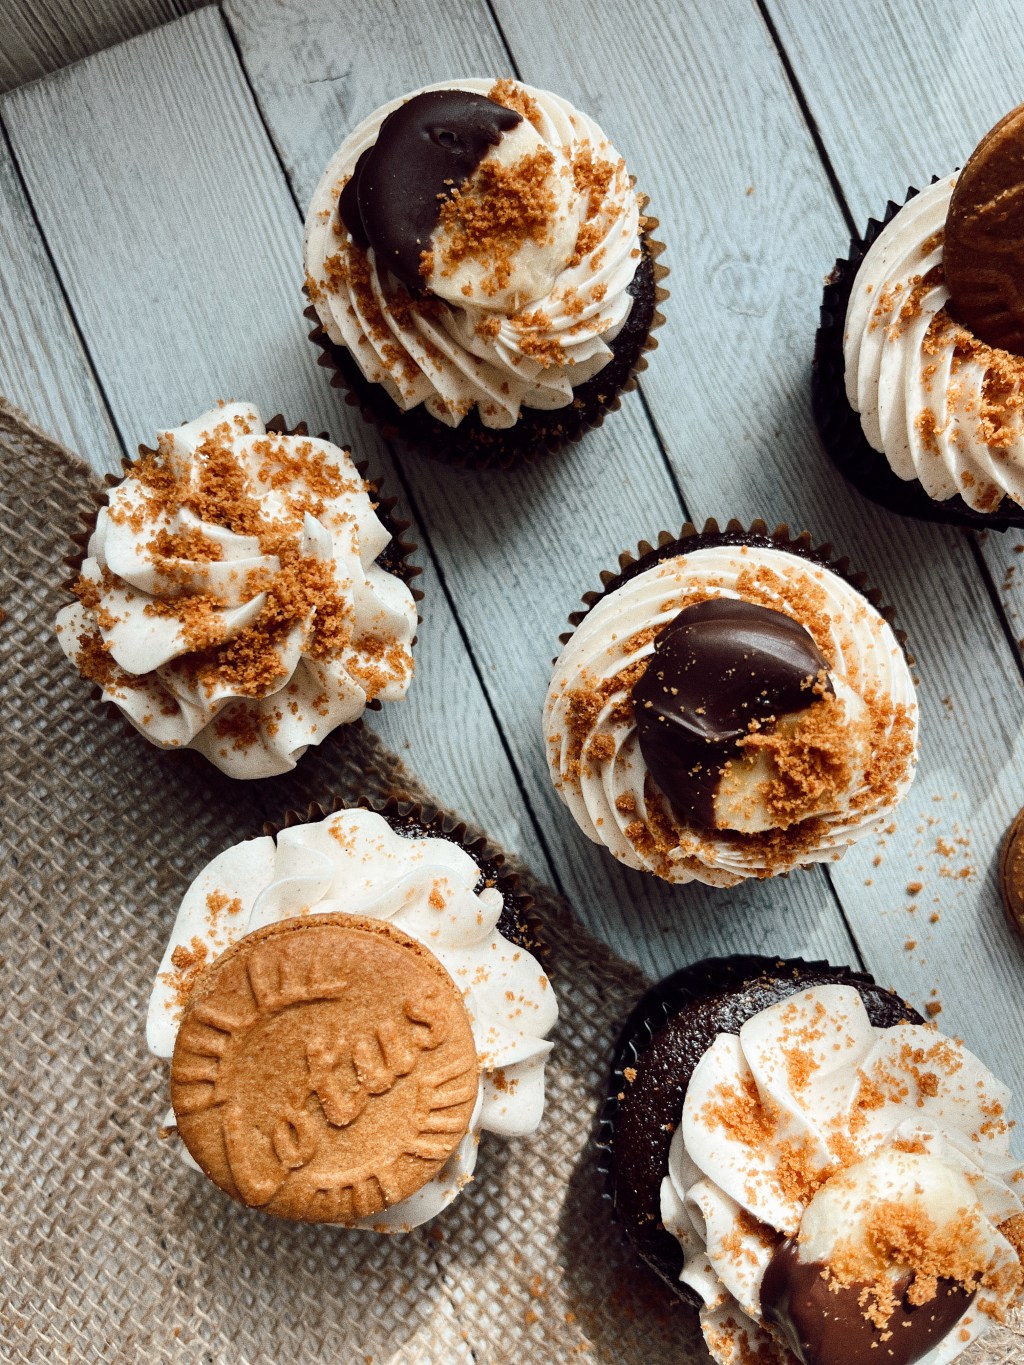
- Fruit Dip: Chocolate ganache makes the perfect dip for fruit. Sometimes I’ll dip strawberries or banana’s into my ganache and just snack on them! Below I cut up banana slices and dipped them into my ganache and placed them onto cupcakes, they were delightful!

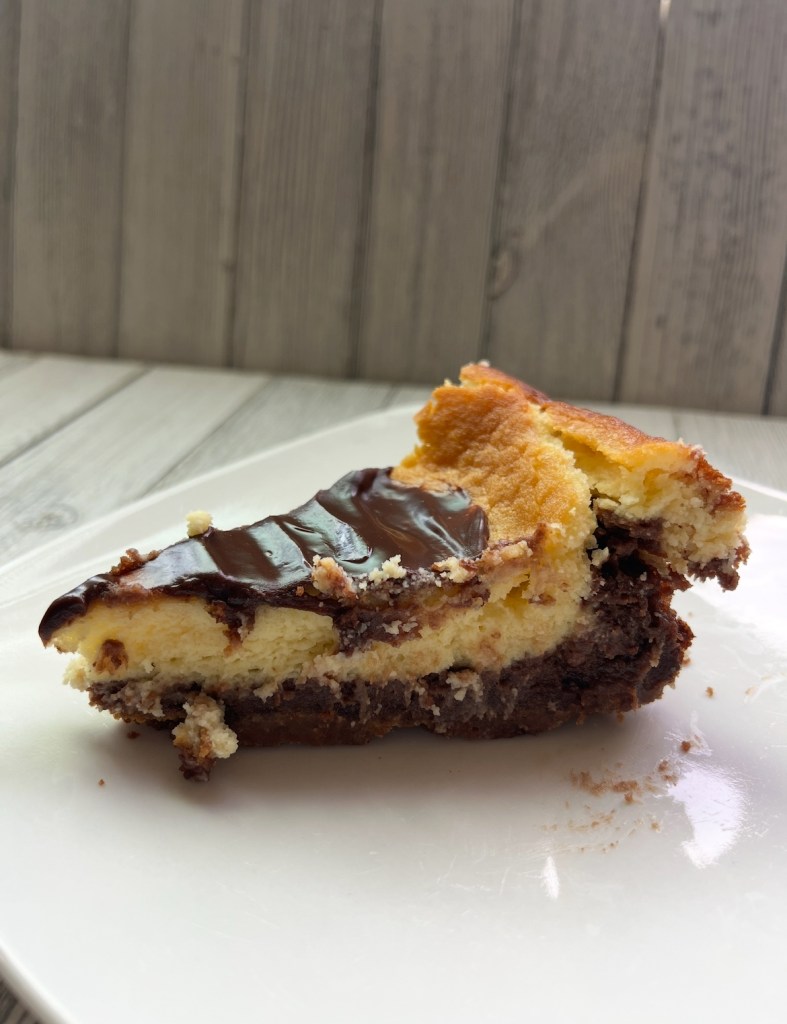
- Topping for Desserts: Below is a photo of my Nutella cheesecake topped with the chocolate ganache! I love how the ganache can elevate a dessert, this would also be a great topping for brownies!
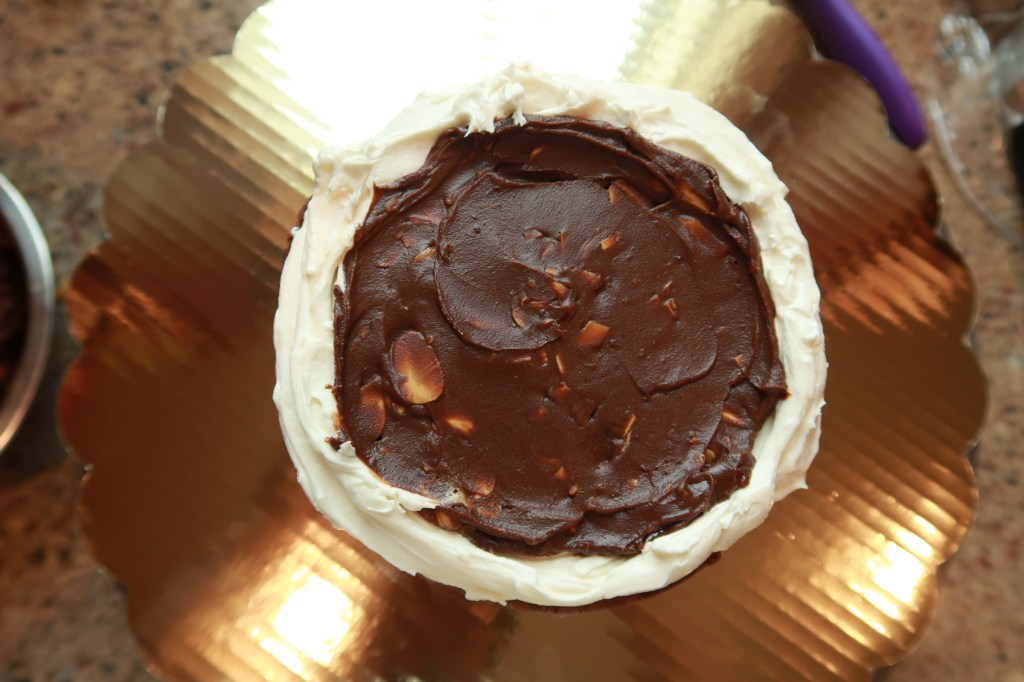
- Cake Filling: Chocolate Ganache makes a lovely cake filling. When I want to fill a cake with ganache I will cool the ganache in the freezer for about 20 minutes. By that time the mixture will be thick but not fully set, making it easy to stack in between cake layers! This is where I like to have fun with additives like Oreo’s or toasted almonds which is shown in the photo below!
Storing the Ganache
According to Google AI: “Ganache typically lasts for about two weeks in the fridge or two days at room temperature. However, it can be frozen for up to two months.”
I hope you enjoy this recipe as much as I do, thank you so much for viewing this post! Like and share 🙂 – Nekko
