Homemade Caramel
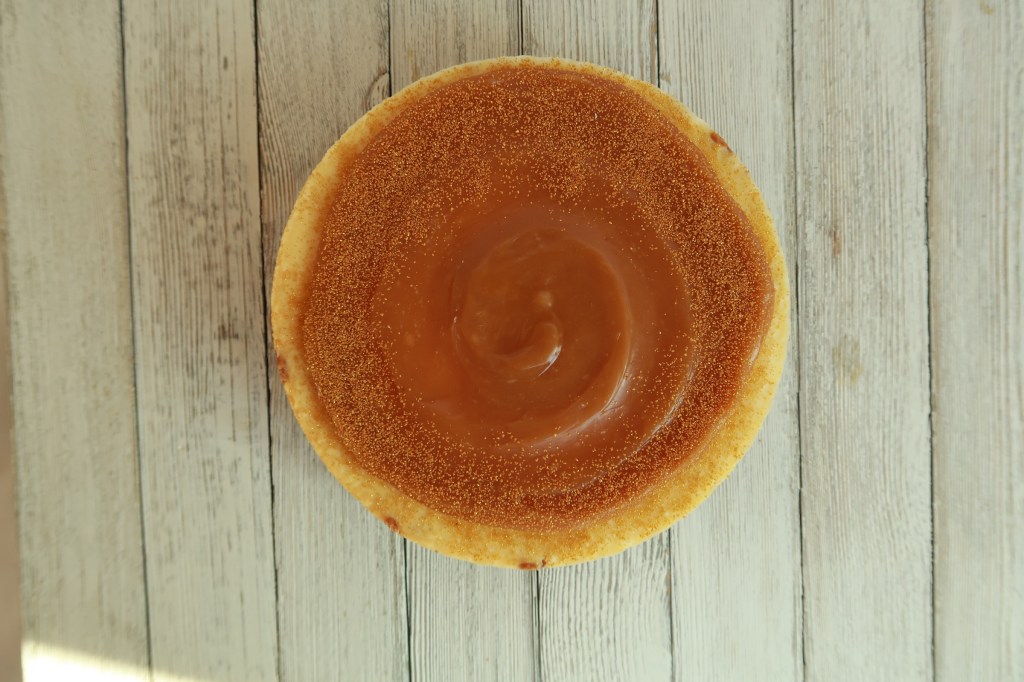
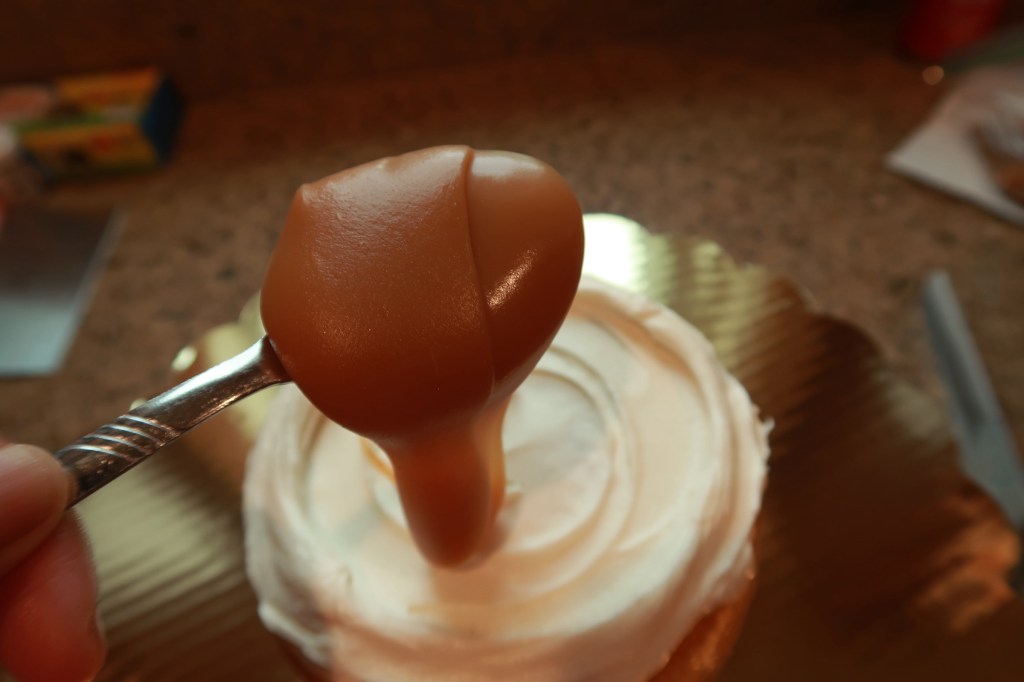
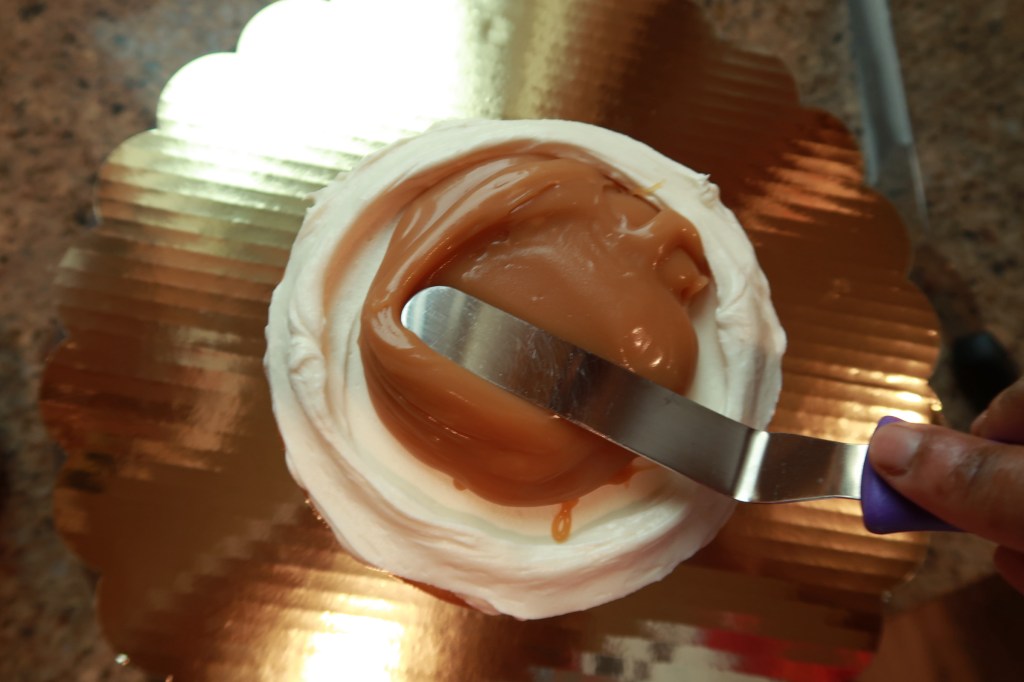
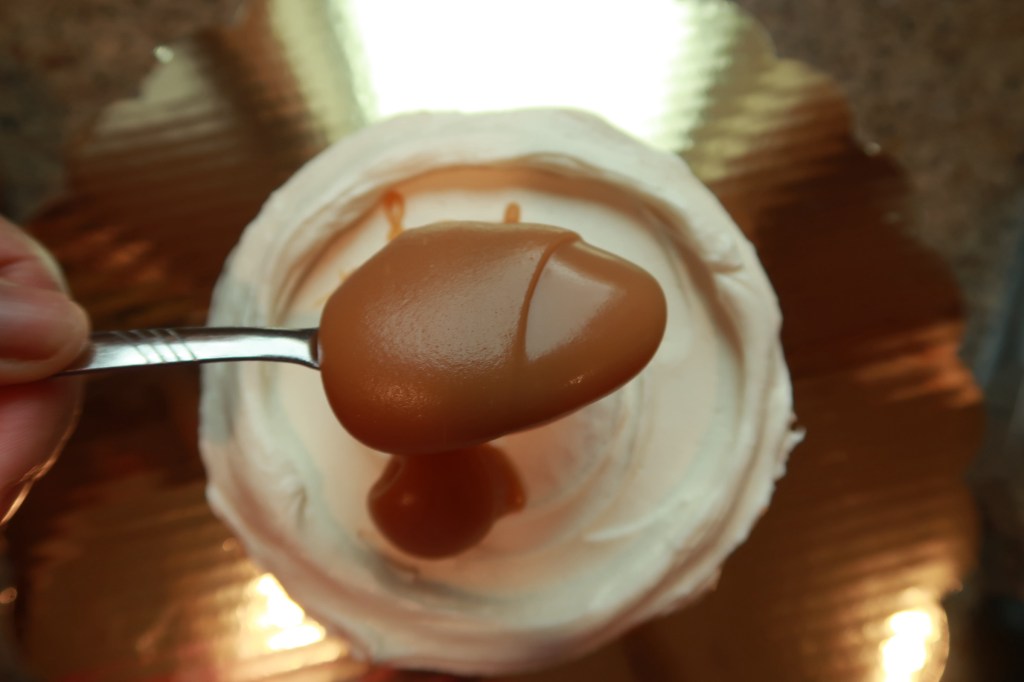
Today we’re making caramel. I have finally designed a caramel recipe that is buttery & creamy! This recipe is for a small batch of caramel: 6 oz. This amount is perfect for layering in a 3 layer 6 inch layered cake, drizzling on cupcakes or swirled on top of a cheesecake like the photo shown above!
If you’ve made caramel you may know how stressful it can be. Caramel can be tricky because you have to watch it very carefully and mix it frequently without burning yourself. Throughout this post I will let you know what you’ll need with step by step instructions and pictures!
What you’ll need:


Equipment & Tools:
- Small Sauce Pan
- Strainer
- Small Bowl
- Spatula
- Mason Jar
Ingredients:
- 1/2 Cup of Granulated Sugar
- 4 Tbsp Butter
- 1/2 Cup Heavy Whipping Cream
- 1 tsp Vanilla Extract
Prep Work:
This caramel recipe takes about 8-9 minutes to cook so mise en place is very important. You want to have your ingredients room temp and you will need your butter and heavy whipping cream set aside measured. If your butter is not room temp you can cut the butter into pieces and place in the microwave for 8 secs, if some of the butter melts it’s still ok to use. If you don’t have room temp heavy cream you can put it in the microwave for about 30 seconds.
Make sure you have your bowl and strainer set right beside your stove so you can strain your caramel.
Step by Step Instructions:
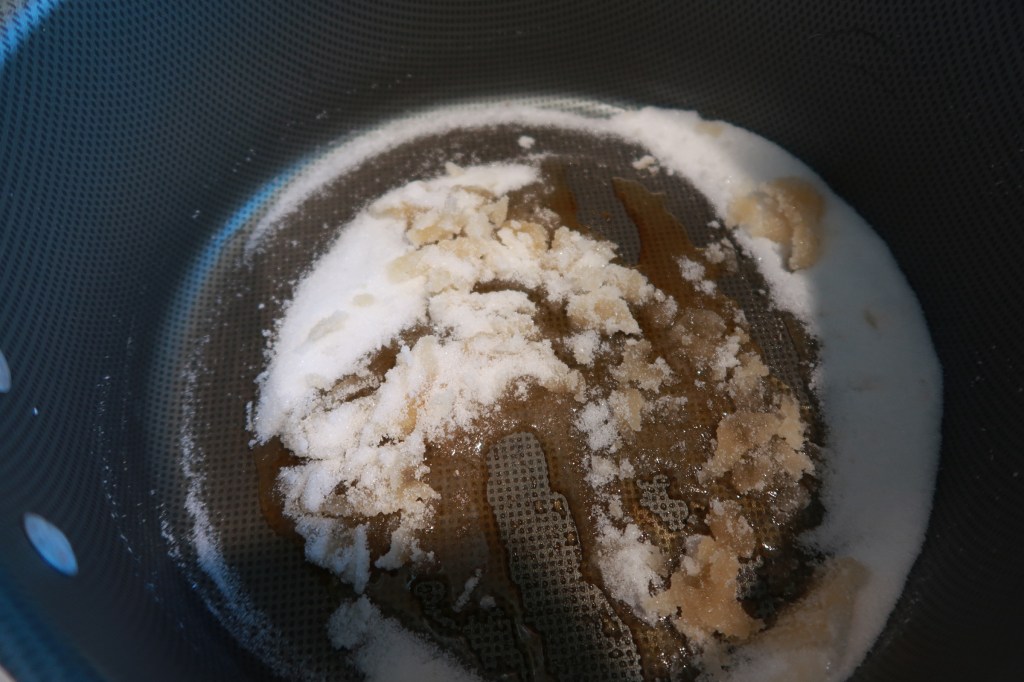
The first step is to caramelize the sugar. This step takes about 3 minutes.
Put the 1/2 cup of sugar into the sauce pan and turn the heat a little past medium. As you see the sugar cook you will want to stir the sugar slowly and make sure all of the sugar dissolves. During this step you may get clumps and thats ok, you can press those down as much a you can. You will want the sugar to cook until it turns to an amber color and then you will turn the heat down to medium.
Note: You want to avoid overcooking the sugar once it reaches that amber color. During this process you’ll need to stir vigorously. If needed you can take the pan off the heat for a few seconds if you think the heat isn’t going down fast enough. Bring the pan back to the stove while stirring the mixture and move on to step 2.

Step 2 is when you will add in the butter. During this step you will need to constantly stir. Your heat should be on medium. Stir the mixture until the bubbling stops and let it cook while stirring for about 2 minutes. Once the mixture looks like the photo below you can add in the heavy cream.
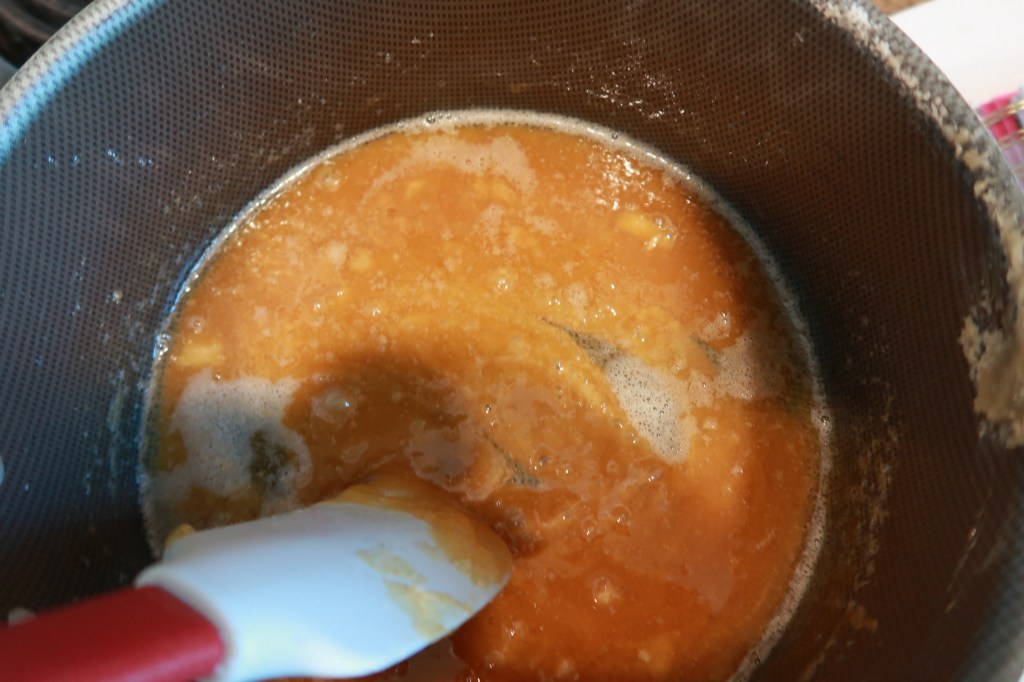
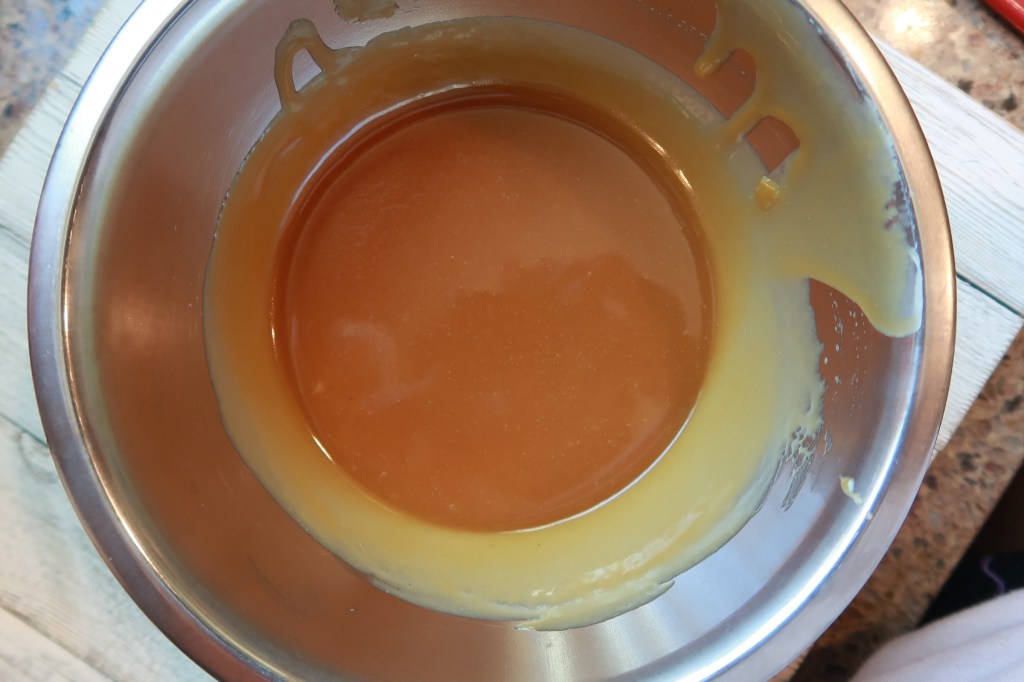
Step 3 is to add in the heavy cream. Similar to when you added the butter, the mixture will bubble as you pour in the heavy cream. This part can be intimidating but keep stirring until the bubbling calms down. Once mixture has relaxed, continue to stir while letting it cook for 2 minutes. You can turn the heat off during the last minute.

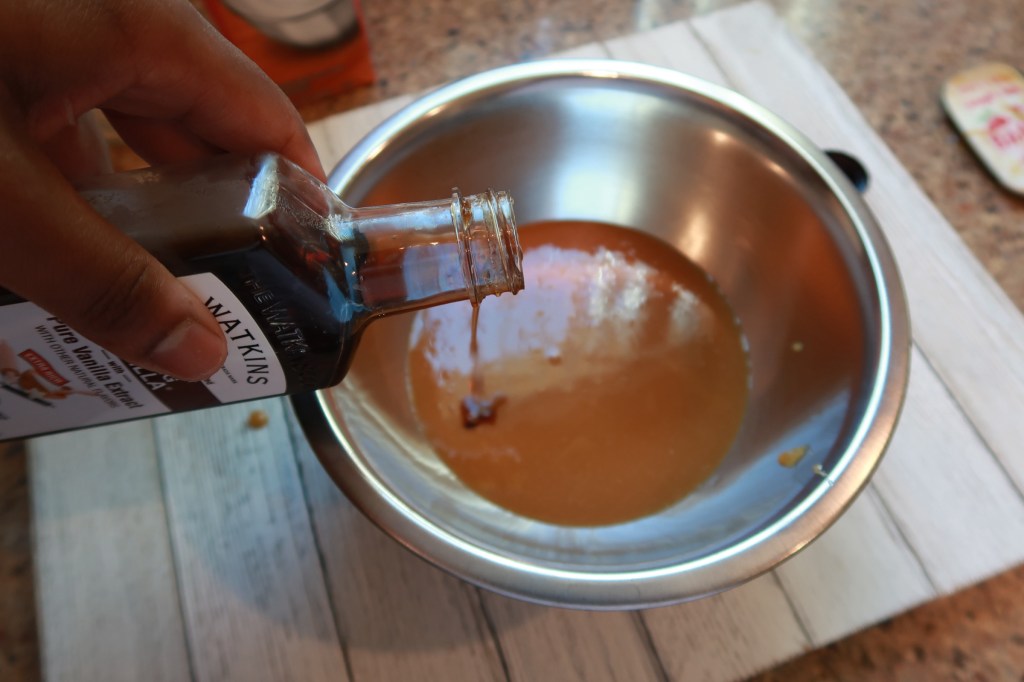
Step 4 is to strain the mixture and add the Vanilla. You will do this right after step 3 is complete. After the caramel is strained add in the vanilla. Once the Vanilla is mixed in you can place your caramel in a mason jar and use when it has cooled down.

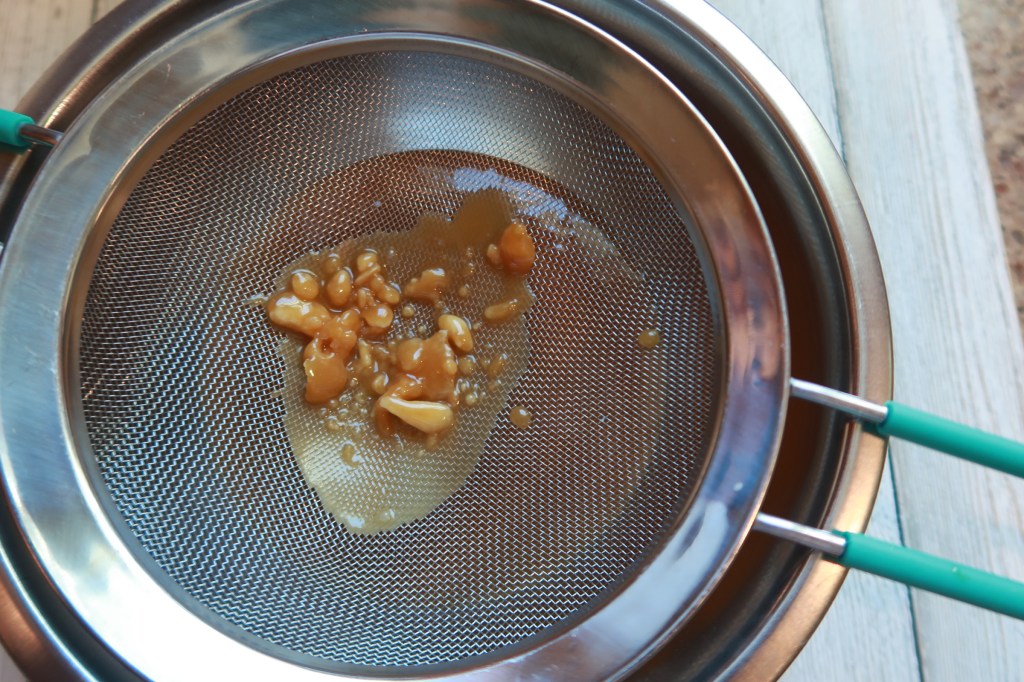
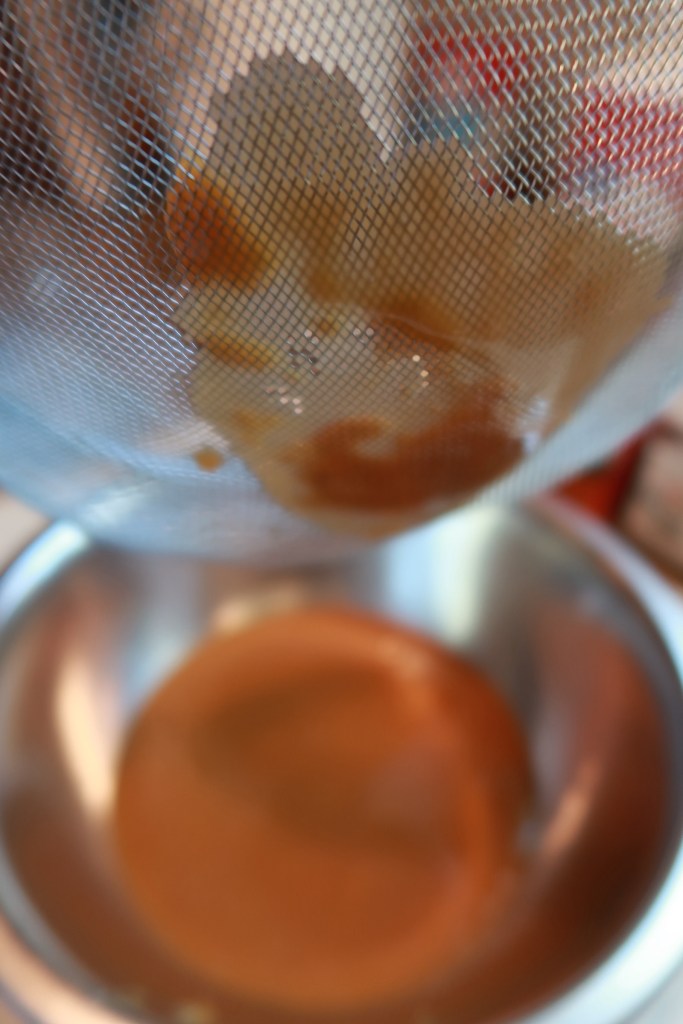
Note: With this batch I was left with some clumps of crystalized sugar which was ok because the caramel came out so delicious. Make sure to always scrape the left over caramel at the bottom of the strainer.
Note: For storage homemade caramel can sit out at room temp for 2 weeks and refrigerated for one month! Make sure to date your mason jar so you can keep track of the expiration.
After making the caramel let it sit for an hour or until it is no longer hot. If using on cakes or cupcakes let the caramel set in the fridge for at least 30 minutes. Once it sets it will be the perfect consistency to fill into a cake. To use as a drizzle microwave the caramel in 8 seconds intervals until you have your desired consistency.

I hope you enjoy this recipe as much as I do and comment below if you give it a try!
